
You’ve found it. The car that ticks all the boxes—the right model, the perfect color, and a price that fits your budget. The excitement is building, and you’re already picturing yourself behind the wheel. But in the Nigerian used car market, the difference between a dream car and a financial nightmare often lies hidden beneath the shiny paint and polished dashboard.
The fear of buying a "lemon"—a car plagued with hidden mechanical issues, previous accident damage, or a tampered odometer—is the biggest obstacle standing between a buyer and a confident purchase. This uncertainty is exactly what holds people back from making one of the most important investments of their lives.
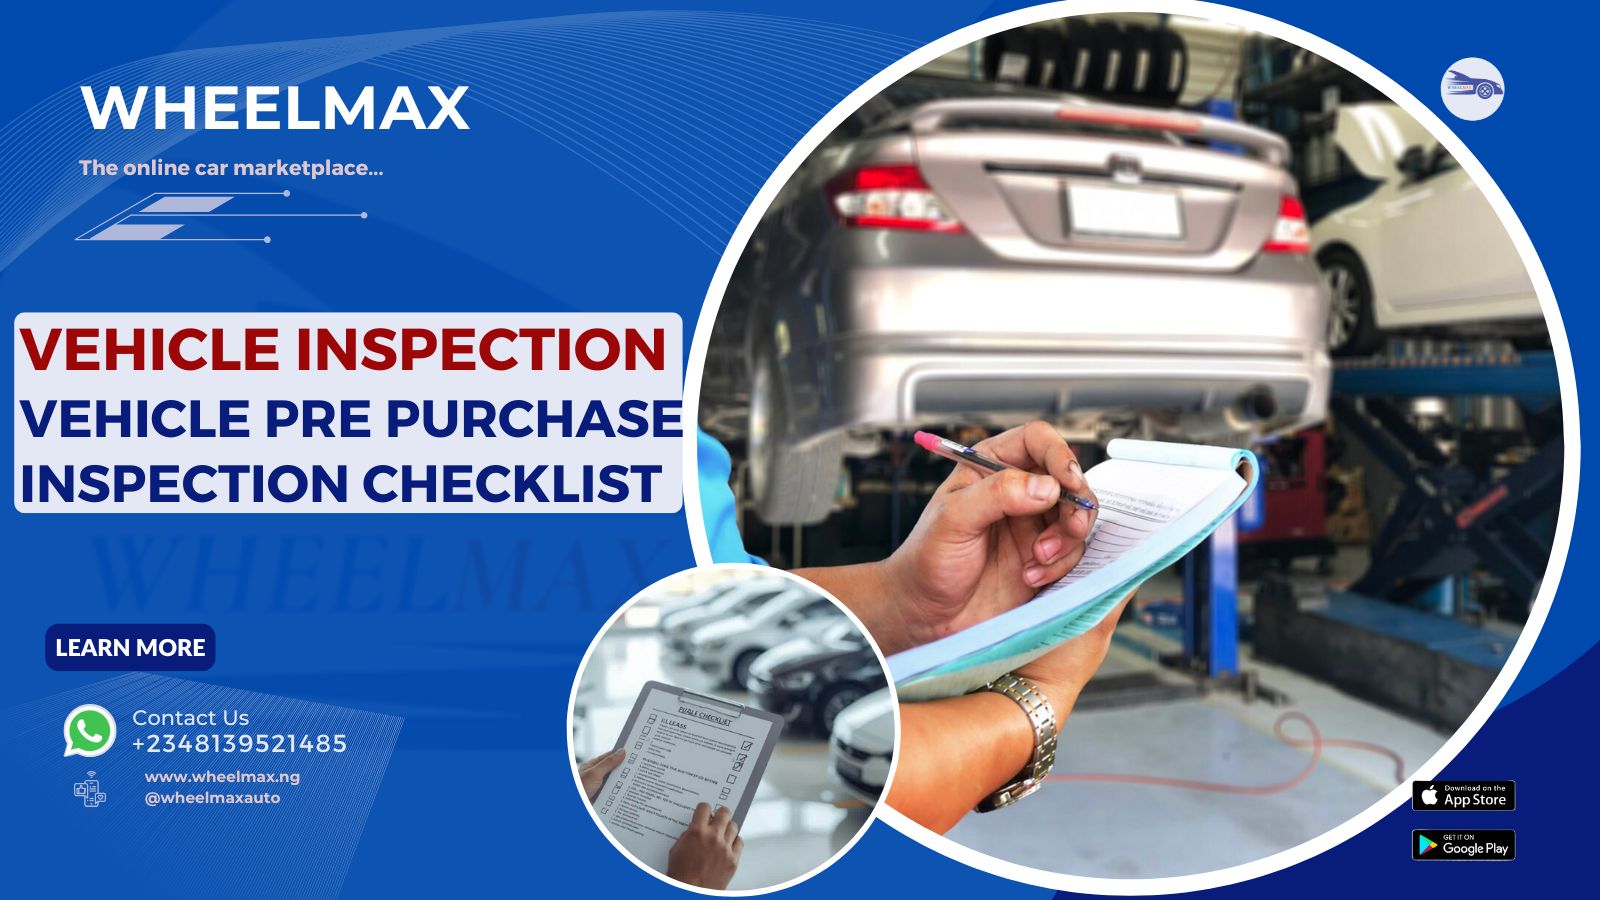
At WheelMax, we believe that knowledge is the ultimate antidote to fear. We want to do more than just connect you with sellers; we want to arm you with the expertise to inspect a car like a pro. This guide is your definitive pre-purchase inspection (PPI) checklist. It’s the tool that will help you move from hoping you’ve found a good car to knowing you have.
Phase 1: Preparation (Before You Leave Home)
A great inspection starts before you even see the car.
- Research Common Issues: Every car model has its own set of common problems. A quick online search for "[Car Model] [Year] common issues" will reveal what to look out for.
- Prepare Your Toolkit: You don’t need to be a mechanic, but a few simple tools will make your inspection far more effective.
- A small torchlight: To look in dark areas like under the car and deep in the engine bay.
- A clean, white cloth or paper towel: To check fluid cleanliness.
- A small magnet: To check for body filler (Bondo) used to hide accident damage. A magnet won't stick to areas with thick filler.
- This checklist! Print it or have it open on your phone.
Phase 2: The Static Inspection (The Car is Off)
This is a detailed, 360-degree examination of the vehicle while it's parked.
Part A: The Exterior Walk-Around
1. Body and Paint:
- Panel Gaps: Look at the spaces between the doors, bonnet, boot, and fenders. They should be uniform and even. Wide or uneven gaps suggest panels have been removed or poorly repaired after an accident.
- Paint Finish: Crouch down and look along the side of the car from an angle. The reflection should be smooth and clear. Wavy, distorted reflections or an "orange peel" texture indicate a repaint.
- Color Match: Check if all panels are the exact same shade of color, especially in bright sunlight. Mismatched doors or fenders are a dead giveaway of repair work.
- "First Body" Check: This is a key term in Nigeria. Use your magnet on various parts of the car (doors, fenders, quarter panels). If it sticks firmly everywhere, it’s likely original metal. If it feels weak or doesn't stick in some spots, that area is likely filled with Bondo, indicating a past accident.
- Signs of Rust: Check the bottom of the doors, the wheel arches, and underneath the car for any bubbling paint or visible rust.
1. Glass, Lights, and Wipers:
- Windshield & Windows: Inspect all glass for cracks, large chips, or any signs of delamination.
- Lights & Lenses: Check all light casings (headlights, tail lights, indicators) for cracks, fogging, or moisture inside. Mismatched brands or one light looking newer than the other can indicate a replacement after a collision.
2. Tyres and Wheels:
- Tread Depth: All four tyres should have sufficient tread.
- Uneven Wear: This is a major red flag. Wear on the inner or outer edges points to alignment issues. Scalloped or cupped wear can indicate suspension problems.
- Tyre Age: Find the DOT code on the tyre wall. The last four digits represent the week and year of manufacture (e.g., "3521" is the 35th week of 2021). Tyres older than 6-7 years are a safety risk and will need immediate replacement.
- Spare Tyre: Don’t forget to check the boot. Is the spare tyre present, in good condition, and properly inflated? Is the jack and wheel spanner there?
Part B: The Interior Deep-Dive
- The Smell Test: As soon as you open the door, take a deep breath. A strong musty or mildew smell is a huge red flag for water damage, which can lead to electrical nightmares.
- Odometer vs. Wear & Tear:Check the mileage on the dashboard. Now look at the high-contact points: the steering wheel, gear knob, driver's seat bolster, and pedals. Does the wear seem consistent with the mileage? A car showing 60,000km shouldn't have a steering wheel worn smooth or a pedal worn down to the metal. This is a primary sign of odometer rollback fraud.
3. The Electronics "Glitch Hunt":
- Start the car's electronics without turning on the engine.
- Air Conditioning: Turn the AC to its coldest setting and highest fan speed. Does it blow ice-cold air? In Nigeria's climate, a weak or faulty AC is a significant and expensive repair.
- Test Everything: Methodically test every single button, switch, and knob. Power windows, central locking, mirrors, radio, horn, sunroof, seat adjustments, interior lights, etc. Don’t rush this.
4. Upholstery and Trim:
- Lift the floor mats and press on the carpet underneath, especially in the footwells. Any dampness is a bad sign (potential leak or flood damage).
- Check the headliner for stains or sagging.
Part C: Under the Hood (Engine should be cool)
1. Fluid Checks:
- Engine Oil: Pull the dipstick, wipe it with your clean cloth, re-insert it fully, and pull it out again. The oil should be between the min/max marks. It should be a honey-brown color. If it's black and gritty, it’s overdue for a change. If it's milky or foamy (like a cappuccino), walk away immediately. This indicates coolant is mixing with the oil, a sign of a catastrophic head gasket failure.
- Transmission Fluid: (On most automatic cars) Check with the engine running and warm. The fluid should be reddish-pink and smell oily. If it’s dark brown or smells burnt, the transmission may have serious issues.
- Coolant/Antifreeze: Look at the reservoir. The coolant should be a bright color (green, orange, pink) and not a rusty, sludgy brown.
2. Belts and Hoses:
- Look at the visible rubber belts. They shouldn't have cracks, fraying, or a glazed appearance.
- Squeeze the major coolant hoses. They should be firm but pliable, not rock-hard, mushy, or cracked.
3. Battery and Terminals:
- Check the battery terminals for fuzzy, white, or greenish corrosion. This can cause starting issues.
4. Look for Leaks: Use your torchlight to inspect the engine block, hoses, and the area underneath the engine for any signs of active fluid leaks (oil, coolant, etc.).
Phase 3: The Dynamic Inspection (The Test Drive)
This is where you feel how the car performs on the road.
1. Starting Up:
- When you start the engine, listen for any rattles, knocks, or squeals.
- Check the exhaust. A little white vapor on a cool morning is normal, but heavy white smoke (coolant), blue smoke (oil), or black smoke (fuel) indicates engine problems.
2. The Drive Itself:
- Transmission: In an automatic, shifts should be smooth and almost unnoticeable. In a manual, the clutch should engage smoothly without slipping or shuddering.
- Brakes: Find a safe, empty stretch of road. Apply the brakes firmly. The car should stop in a straight line without pulling to one side. The pedal should feel firm, not spongy. Listen for any grinding or squealing sounds.
- Steering & Alignment: On a straight, level road, briefly loosen your grip on the steering wheel. The car should track straight and not pull to the left or right.
- Suspension: Don’t avoid potholes (within reason!). Drive over a few bumps or a rough patch of road. Listen for any loud clunking or knocking sounds. The car should feel stable and not overly bouncy.
- Engine: Listen to the engine as you accelerate. It should sound smooth. Pay attention to any hesitations, stutters, or loss of power.
- Monitor Gauges: Keep an eye on the temperature gauge. It should stay in the normal range and not climb towards hot.
Phase 4: The Final Verdict
After the test drive, park the car and let it run for a minute. Do one final check underneath for any new leaks that may have appeared under pressure.
The Golden Rule: Always Get a Professional Opinion
This comprehensive checklist will empower you to identify 90% of potential problems and walk away from bad deals with confidence. However, it is not a substitute for a professional inspection.
When you find a car that passes your test, the final step is to invest in a qualified, trusted mechanic. They have the tools and experience to diagnose issues you can't see, like checking for error codes in the car's computer or identifying subtle signs of frame damage. A reputable seller, like the Verified Dealers on WheelMax, will always welcome a professional inspection. If a seller resists, consider it a major red flag.
By following this guide, you are taking control of the car buying process. You are transforming yourself from a hopeful buyer into an informed, empowered consumer, ready to make a smart and confident investment.